When you need to look behind the surface
A scan makes sense when:
- A stain keeps coming back after repainting
- A musty smell has no visible source
- A water bill jumps and no one can find a leak
- Flooring is cupping or lifting in one area
- You have had a water loss and want proof it dried
- You are about to buy or rent a house with old water stains
What the camera shows and does not show
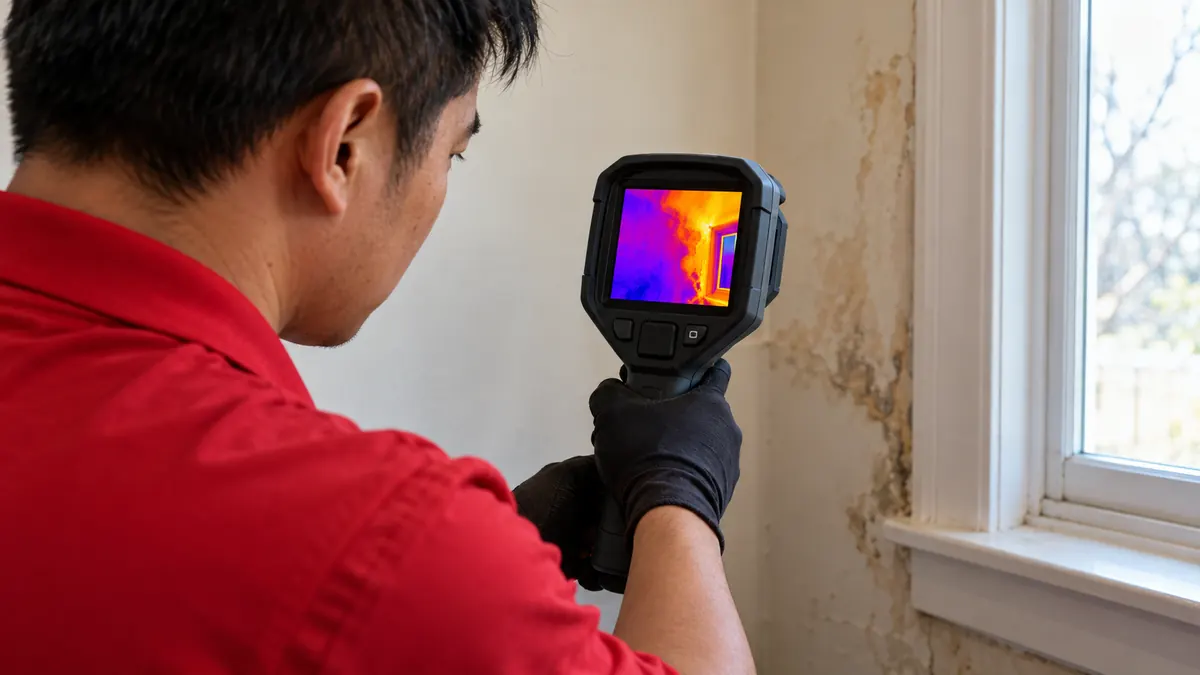
A thermal camera reads surface temperature, not water. Wet materials often look cooler because water evaporates and conducts heat differently, so a cool patch on a wall is a lead, not an answer. We confirm every lead with a moisture meter, and sometimes with a small test hole or a probe.
That mix is what makes the method useful. A camera tells us where to look. The meter tells us how wet it is. The two together let us map a loss, close the scope tightly and avoid cutting out healthy drywall.
Thermal imaging for buyers, sellers and landlords
A moisture map is a neutral document. Buyers use it to see what an inspection may have missed, such as a freshly painted wall that is still wet. Sellers use it to show that a past leak was dried. Landlords use it to settle questions about a rental after a leak.
The map shows where moisture is, how wet it is and what has been dried. It does not say who is at fault. That keeps the conversation on facts.
How a moisture map is made
Ask what happened
We ask where it started, how long ago and what has been dried or repaired already.
Scan the surfaces
We scan walls, ceilings and floors with the camera in a consistent pattern, since it can miss areas at the edges of the room.
Confirm with a meter
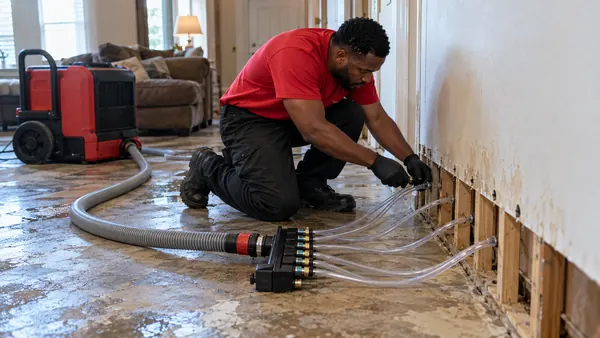
Pin and pinless meters read the material at the points the camera flagged.
Mark the edges
We mark the boundary of the wet zone so everyone on the job agrees where drying and repairs happen.
Record
Photos, thermal images and readings go into a report you can use for a claim or a purchase decision.
Recheck after drying
Another scan shows whether the structure is dry before closing walls.
Why hidden water is common in this market
A lot of the homes across the north Atlanta suburbs have double-layer drywall, stone or tile floors over slabs, and attic runs above finished spaces. Water that starts in one place can travel along a joist, behind a baseboard or under flooring before it shows.
Georgia humidity masks the evidence. In summer, damp materials do not dry out and signs fade, so a house can look fine while the framing stays wet. Mapping finds that moisture before it becomes mold or rot.
What mapping usually turns up
- A wet wall bottom plate behind a dishwasher or tub
- Insulation holding water above a ceiling that looks dry
- Damp subfloor under tile, with no visible grout stain
- A roof or window leak that stains on the opposite side of the wall
Reading moisture: pin meters, pinless meters and probes
A pinless meter scans the surface without damage and finds general wet areas. A pin meter pushes small probes into wood or drywall and gives a point reading. For closed cavities, a small probe hole can be used to check insulation and the back of the drywall.
We compare each reading to a dry reference in the same house, because a wet number depends on the material. A drywall reading that is normal in a humid bathroom may be high in a hallway.
How to prepare for a scan
- Leave the house at its normal temperature for a few hours
- Clear the wall or floor area we will be reading
- Note stains, smells and when you first noticed them
- Tell us about repairs and past leaks, even small ones
- Share any inspection reports you have
Moisture mapping cost
A typical estimate for a thermal imaging and moisture mapping visit runs about $250 to $900, depending on the size of the house and the report. It is often credited toward a drying or remediation job. These are typical estimates, not guaranteed prices. Call for an exact quote. See all price ranges.
Questions we hear about this
Can the camera see through walls?
No. It shows surface temperature differences that can hint at moisture, and we confirm with meters.
Will you cut into my wall?
Only when needed and with your approval. Small probe holes are often enough to confirm.
Is this useful for insurance?
Yes. A moisture map with photos and readings documents the extent and helps keep a scope clear.
Can you find the leak itself?
We find where the water is. A plumber or roofer finds the source and fixes it. We share the map with them.
Do you offer this before a home purchase?
Yes. It can show wet areas a visual inspection missed, such as behind a freshly painted wall.
Where we see this most
- Lilburn, GASlab ranches where water wicks into floor plates and is invisible at the surface.
- Roswell, GAHillside homes with hard-to-reach subfloors and complex framing.
- Alpharetta, GACustom basements with finished walls and built-ins that hide a wet cavity.
Read next How Georgia homeowners insurance treats water damage.